
Life can be unpredictable. Power outages, severe weather, or other emergencies can happen with little warning. When things get tough, having a plan and essential supplies ready makes a huge difference. That’s where a survival kit comes in.
Building your own DIY survival kit at home might sound complicated, but it’s really about gathering practical items you might already have or can easily get. It gives you peace of mind knowing you’re better prepared to handle unexpected situations for yourself and your family. I felt much more secure after putting my first kit together; it turned potential panic into a manageable task.
This guide will walk you through creating a basic, effective emergency kit right from your home.
What is a DIY Survival Kit?
Simply put, it’s a collection of supplies designed to help you manage for a period (often recommended for at least 72 hours) if you lose access to typical utilities and resources. It’s your safety net when normal life is disrupted.
Why Build Your Own?
- Tailored to Your Needs: You can include exactly what your family needs, like specific medications or items for pets and children.
- Cost-Effective: You can use items you already own.
- Empowering: Taking steps to prepare feels good and reduces anxiety about potential emergencies.
Different Types of Kits (Choose What’s Right for You)
While the core items are similar, you might create different kits based on where you expect to use them:
- Home Emergency Kit (Shelter-in-Place): This kit is stored securely at home. It can be larger and contain more supplies since you don’t need to carry it far. Good for power outages, severe storms where you stay put.
- Go Bag / Bug-Out Bag: This is a portable backpack packed with essentials. It’s designed to be grabbed quickly if you need to evacuate your home. Lighter and more compact.
This guide focuses on the contents that are vital for either type, allowing you to customize. A common goal is supplies for 72 hours (3 days).
Step 1: Choose Your Container
You need something sturdy to hold your supplies and keep them protected.
- For a Home Kit: A large plastic storage bin with a lid works well. It’s waterproof and easy to stack or store in a closet or basement.
- For a Go Bag: A comfortable backpack is best. Choose one durable enough to carry weight. It should ideally be water-resistant or have a rain cover.
Pick a container that is easy to access and transport if needed.
Step 2: Gather the Essentials (What to Put Inside)
Now for the core of your kit. Think about the basic human needs: water, food, shelter, safety, communication.
Water Supplies
You can’t survive long without water. Plan for one gallon of water per person per day for drinking and sanitation.
- Bottled Water: Store commercially bottled water. Check expiration dates periodically (though the water itself is usually fine, the plastic bottle can degrade).
- Water Filter or Purification Tablets: Include a portable water filter or purification tablets as a backup in case your stored water runs out and you find another water source.
Food Supplies
Pack non-perishable food that requires little or no preparation, heating, or water. Aim for a 3-day supply per person.
- Energy Bars: Compact and high in calories.
- Dried Fruit and Nuts: Good energy sources.
- Canned Goods: Canned meats, fruits, vegetables, soups.
- Manual Can Opener: Absolutely essential if you pack canned goods!
- Comfort Food: Include a few treats like hard candy or chocolate.
- Utensils: Pack basic forks, spoons, or a camping spork.
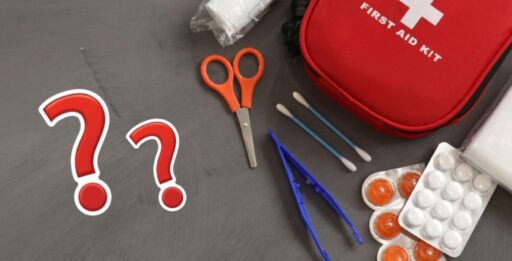
First Aid Supplies
A solid first aid kit is critical for treating minor injuries or managing until professional help is available. You can buy a pre-made kit and add to it, or build your own.
- Bandages: Various sizes.
- Sterile Gauze Pads: For covering wounds.
- Adhesive Tape: To secure dressings.
- Antiseptic Wipes or Solution: For cleaning wounds.
- Pain Relievers: Acetaminophen or Ibuprofen.
- Antidiarrhea Medication, Antacids, Laxatives: For common ailments.
- Allergy Medication.
- Personal Prescription Medications: Include a several-day supply (check and rotate frequently for expiration).
- Medical Gloves (Non-latex).
- Small Scissors and Tweezers.
- First Aid Manual: A simple guide is helpful.
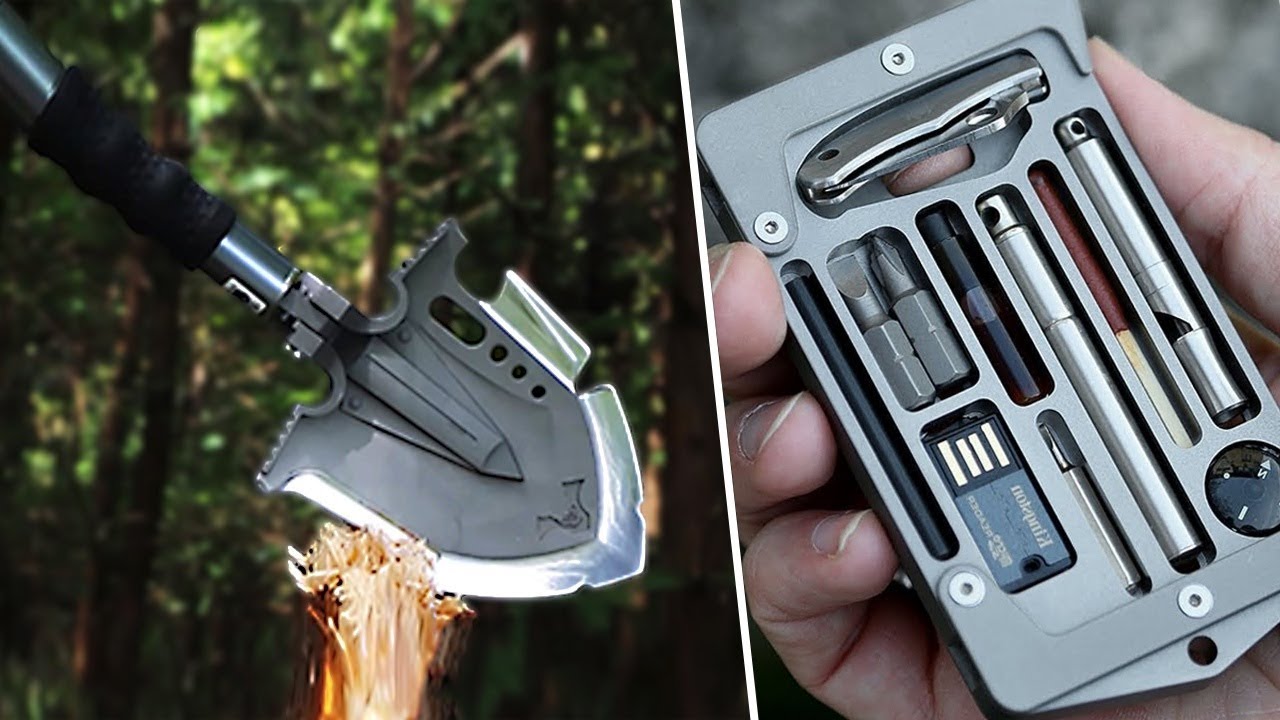
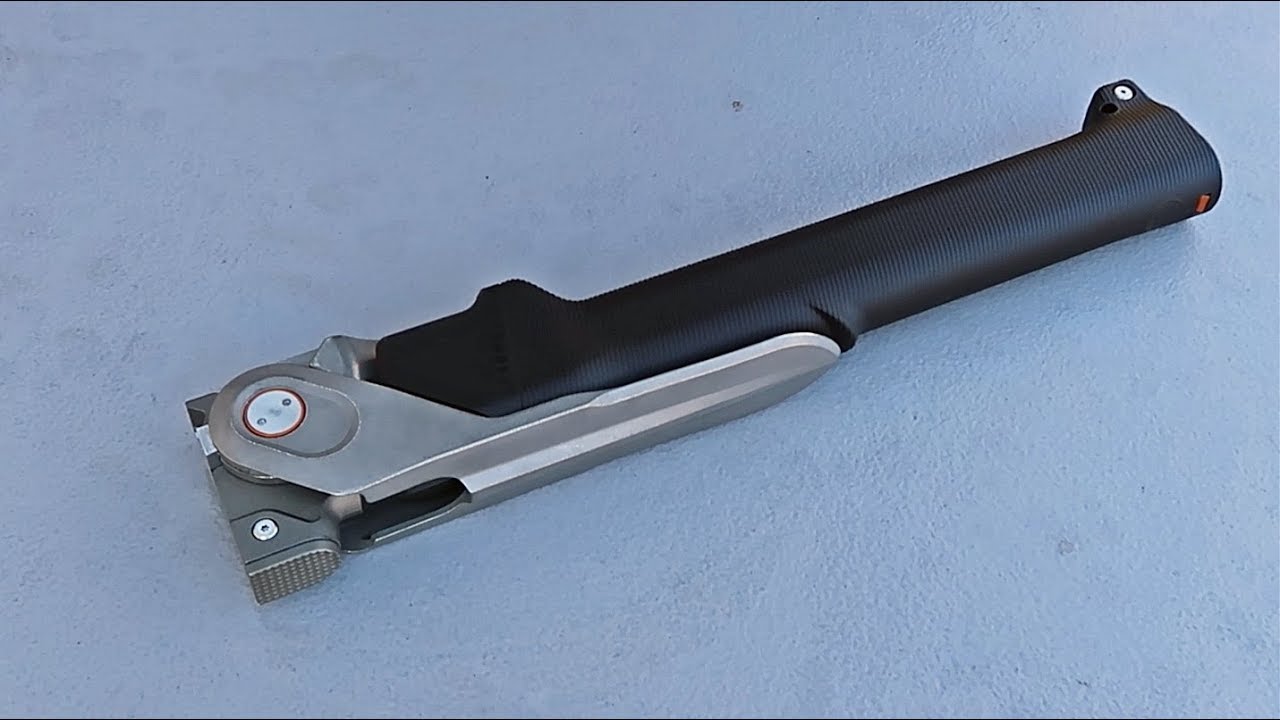
Tools and Utility Items
These items help you handle practical tasks.
- Multi-tool or Knife: Incredibly versatile.
- Duct Tape: Can fix almost anything.
- Utility Cord (Paracord): Strong rope for various uses.
- Wrench or Pliers: To turn off utilities (gas, water) if necessary – know how to do this safely beforehand.
- Dust Mask: To filter contaminated air.
- Work Gloves: Protect your hands.
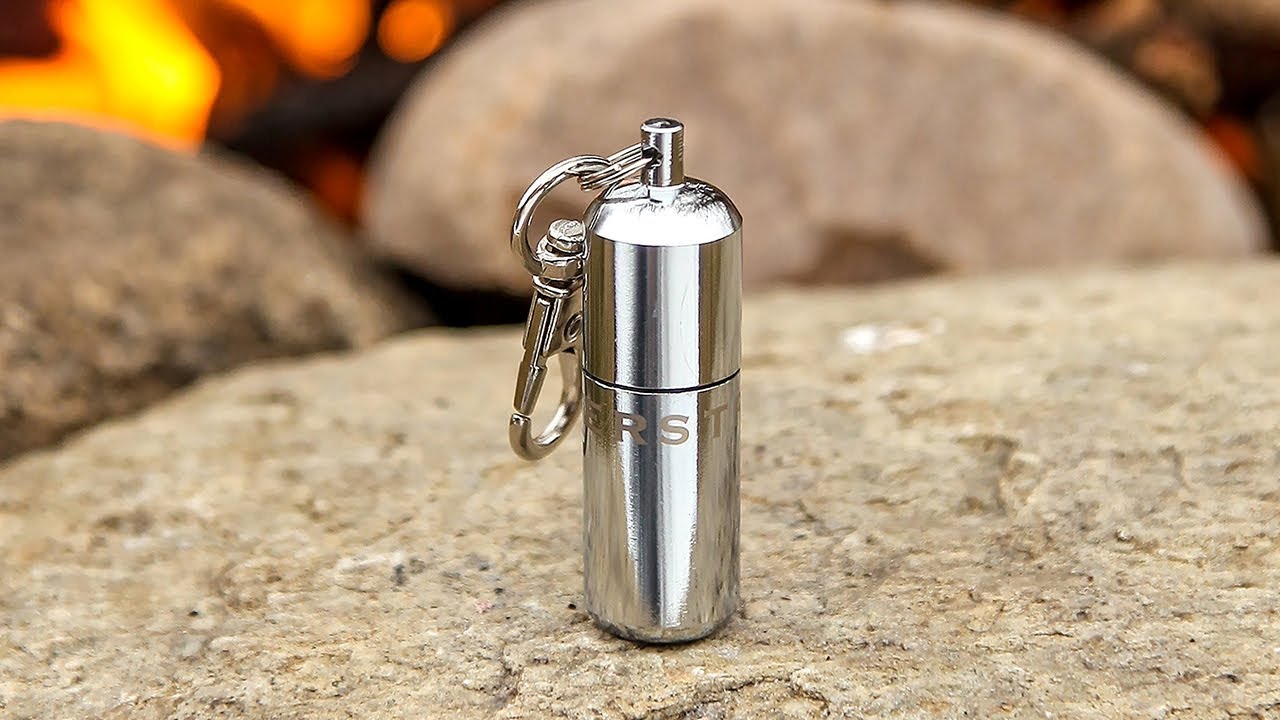
Light and Fire
Reliable light and the ability to start a fire are crucial.
- Flashlight: Pack a durable LED flashlight.
- Extra Batteries: Pack plenty! Check and replace them regularly. Consider a hand-crank flashlight as a backup.
- Headlamp: Keeps your hands free.
- Waterproof Matches: Store them in a waterproof container.
- Lighters: Pack a couple.
- Fire Starter: Cotton balls soaked in petroleum jelly are easy to make and work well.
Shelter and Warmth
Staying warm and dry is essential, even if you’re staying home during a power outage in winter.
- Mylar Emergency Blankets: Compact and reflect body heat.
- Poncho: For rain protection.
- Extra Clothing Layers: Include long pants, a long-sleeved shirt, and a warm jacket or fleece. Wool or synthetic materials are better than cotton if they get wet.
- Whistle: To signal for help (much louder than your voice).
Communication and Navigation
Staying informed and knowing how to find your way are vital.
- Battery-Powered or Hand-Crank Radio: Tune into emergency broadcasts (NOAA weather radio is ideal).
- Extra Batteries: For battery-powered radios.
- Fully Charged Portable Phone Charger / Power Bank: Keep your cell phone running.
- Local Maps: Paper maps in case GPS or cell towers are down.
- Compass: Know how to use it!
Sanitation and Hygiene
Maintaining hygiene is important for health and morale.
- Toilet Paper: Remove the cardboard roll to save space and flatten.
- Wet Wipes: For cleaning hands and surfaces.
- Hand Sanitizer.
- Garbage Bags and Plastic Ties: For waste disposal and other uses.
- Female Hygiene Supplies.
- Personal Hygiene Items: Travel-size toothbrush, toothpaste, soap.
Important Documents and Cash
Having copies of essential documents and some cash is wise.
- Copies of Identification: Driver’s licenses, passports.
- Copies of Vital Records: Birth certificates, marriage certificates.
- Copies of Insurance Policies and Deeds/Titles.
- List of Emergency Contact Information: Include out-of-state contacts.
- Small Amount of Cash: ATMs and credit card machines might not work. Include some small bills.
- Store in a waterproof, resealable bag.
Personal Items
Customize the kit for your specific needs.
- Prescription Medications: As mentioned in First Aid – enough for several days.
- Glasses or Contact Lenses Supplies.
- Baby Supplies: Formula, diapers, wipes, rash cream (if applicable).
- Pet Supplies: Food, water, leash, carrier, medication (if applicable).
- Items for Comfort: A book, deck of cards, small toy for children.
Step 3: Assemble and Organize Your Kit
Putting it all together neatly makes it easier to find what you need under stress.
- Group Similar Items: Put items into categories (First Aid, Fire Starters, Documents).
- Use Smaller Bags: Place items within waterproof, resealable plastic bags (like Ziploc bags) or dry bags. This protects contents and keeps them organized.
- Pack Strategically: Place heavier items towards the bottom of a backpack. Keep items you might need first (flashlight, basic first aid) near the top or in easily accessible pockets.
- Include a Checklist: Put a printed list of the kit’s contents inside. This helps when you review and restock it.
Step 4: Store and Maintain Your Kit
Building the kit is a great first step, but keeping it ready is crucial.
- Choose a Location: Store your kit in an easily accessible place that everyone in the household knows – a closet, basement, or garage. If using a go bag, keep it near an exit.
- Set a Review Schedule: Mark your calendar to check your kit every 6-12 months.
- Rotate Supplies:
- Check expiration dates on food, water, medications, and batteries. Replace anything expired.
- Update documents and contact lists as needed.
- Check clothing sizes if the kit is for growing children.
- Replace items you might have “borrowed” from the kit for everyday use.
Building a DIY survival kit is a practical step towards preparedness. It doesn’t require expensive gear, just thoughtful planning and gathering essential items. Having this kit ready offers significant peace of mind, knowing you’ve taken action to protect yourself and your loved ones in uncertain times.