James Smith studied Security Studies at Georgetown University and has nearly two decades of experience in survival training. A former military instructor, he has trained hundreds of professionals and outdoor enthusiasts in tactical preparedness. His expertise includes emergency response, wilderness survival, and leadership under pressure. He has been awarded recognition from veteran groups for his training programs. When not working, James enjoys mountain trekking, martial arts, and mentoring new trainers. At Survival Prepper, he oversees editorial standards, develops advanced guides, and ensures the authenticity of every article.
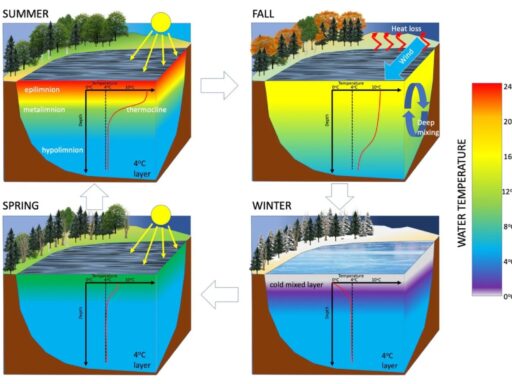
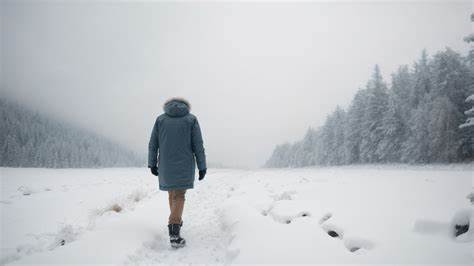
Learn how to master thermal stratification to catch more fish in winter. This guide explains water layers, the 39°F rule, and deep-water fishing tactics.
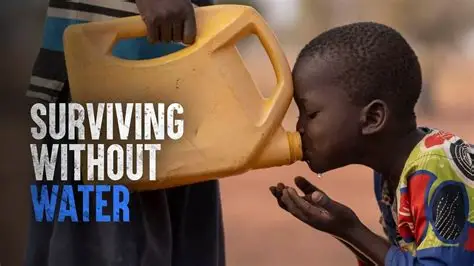
understand the critical factors determining human survival without water, from environmental conditions to individual health, and the dangers of dehydration.
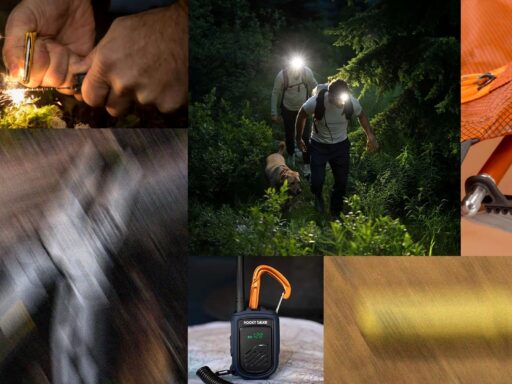
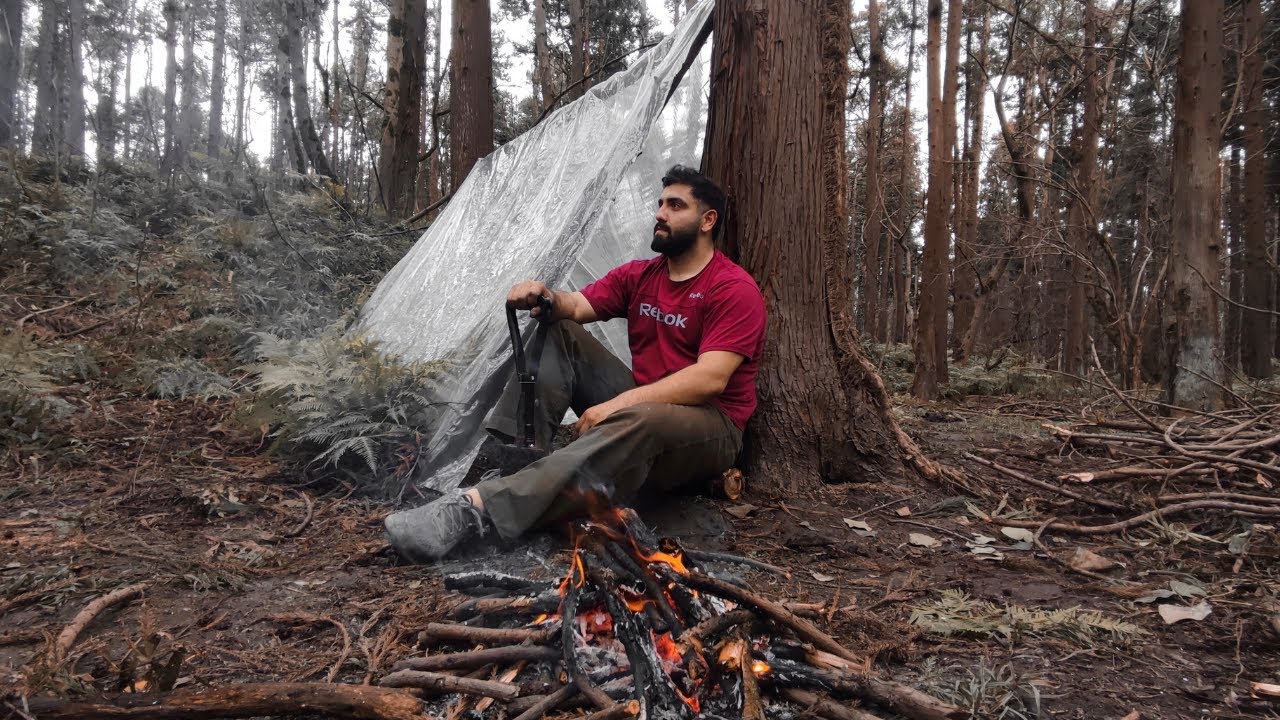
Learn critical survival steps if lost in a forest without food or shelter: prioritize water, build emergency shelter, signal for help, and forage safely.
Learn how to reuse and recycle common items for survival. This guide covers turning trash into tools, finding new uses for materials, and building self-sufficiency.
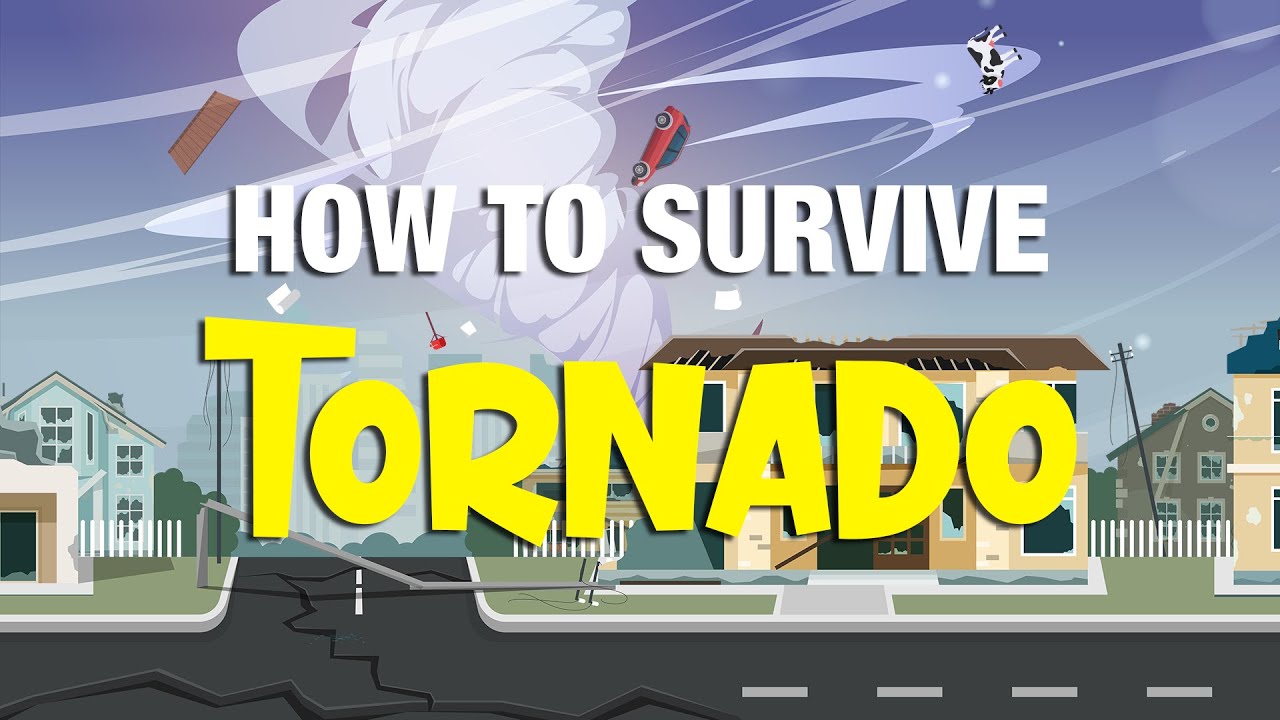
Learn how to survive a tornado without a basement. Find safe interior spaces, practice essential preparation, and take immediate action to protect yourself and your family.
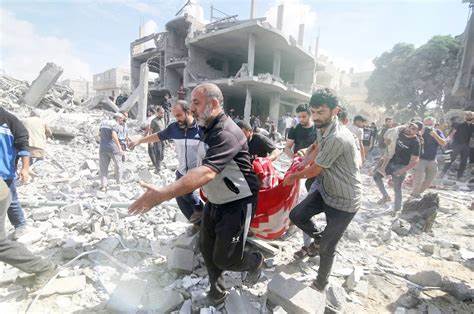
Learn how to survive a war as a civilian with this detailed guide. Prepare an emergency kit, find shelter, manage resources, and stay safe during conflict.