Lucas Noah earned a degree in Outdoor Education from the University of Colorado and has been teaching survival skills for more than 12 years. He has worked with expedition groups, schools, and emergency response teams. His strengths lie in navigation, bushcraft, and resource management in extreme conditions. Lucas received the Outdoor Leadership Award for his contributions to adventure training. Outside work, he enjoys rock climbing, fishing, and family camping trips. At Survival Prepper, he creates practical tutorials and step-by-step survival courses.
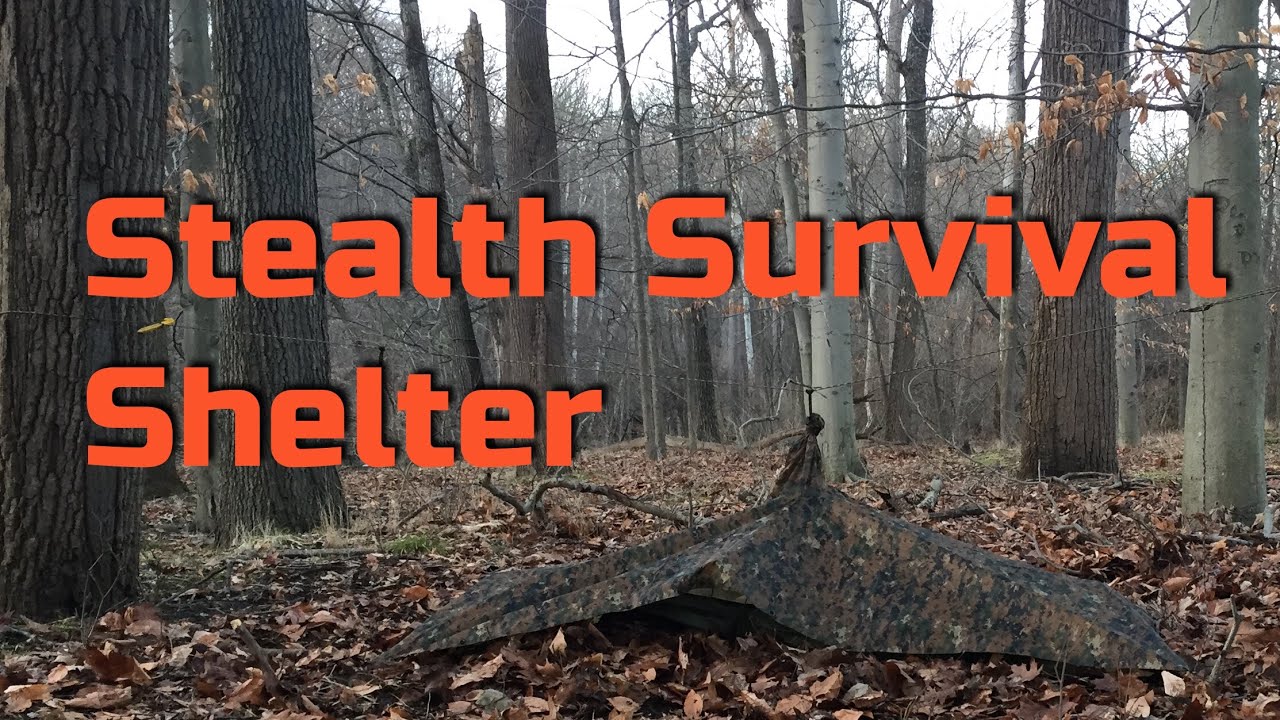
Learn to construct a stealth shelter in urban survival scenarios. This guide covers site selection, materials, concealment techniques, and essential considerations for remaining undetected.
Learn how to maintain group morale in survival settings through leadership, clear communication, shared goals, routines, and psychological support. Crucial for resilience.
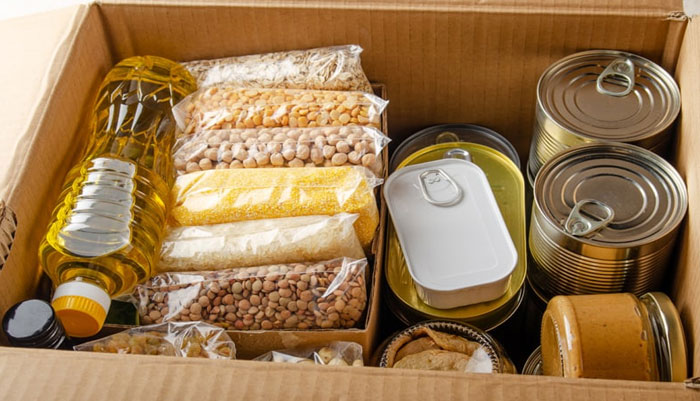
Learn essential methods for long-term food storage for survival prepping, including proper packaging, ideal storage conditions, and suitable food types.
Learn essential strategies to stay safe during civil unrest or riots, covering preparation, immediate actions, and how to protect yourself and your property.
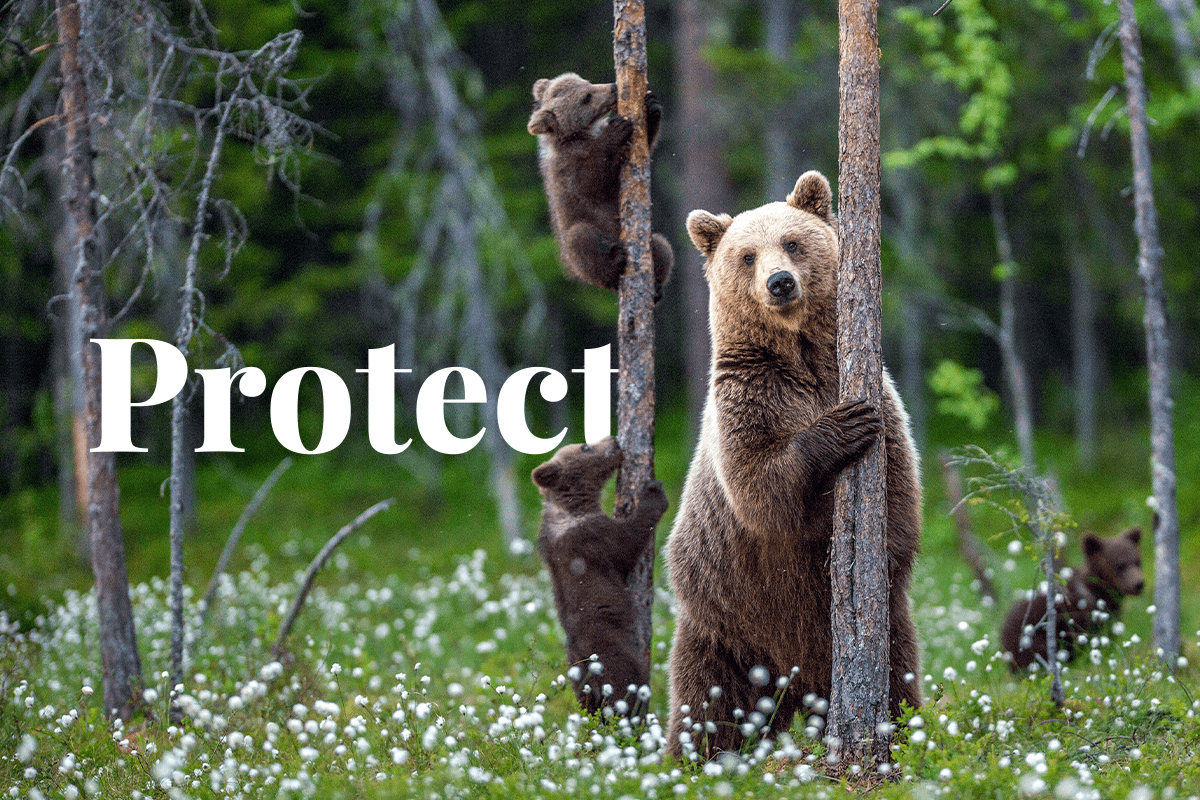
Learn essential strategies to protect yourself from wild animals while exploring nature. Stay safe with tips on prevention, deterrence, and encounter responses.
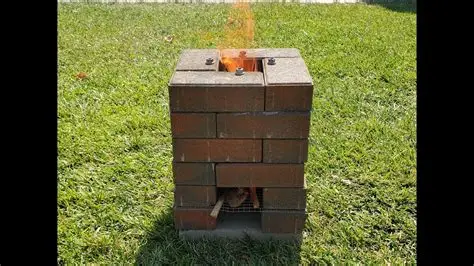
Learn to build an efficient, portable rocket stove using bricks. This guide covers design, materials, and step-by-step construction for powerful outdoor cooking.