Oliver Johnson has a background in Criminal Justice from the University of Texas and over 14 years of tactical training experience. Having worked in law enforcement and private security, he focuses on situational awareness, combat strategies, and defensive tactics. He has been commended for his work in designing urban safety workshops for communities. His personal interests include Brazilian jiu-jitsu, fitness training, and volunteering as a community safety coach. At Survival Prepper, Oliver leads content related to self defence and tactical readiness.
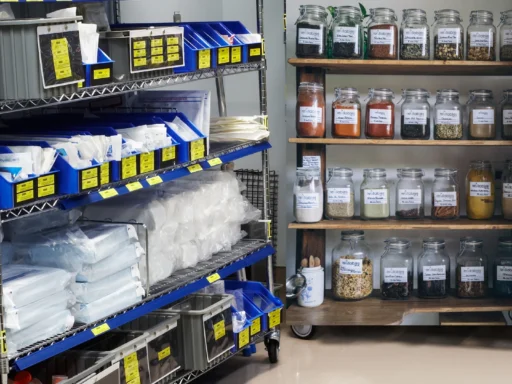
Learn how to perform a prepper pantry audit for 2026. Step by step guidance to inspect food storage, prevent waste, identify gaps, and maintain long term nutritional security.
Learn how to prevent hypothermia in freezing temperatures. Master layering, protect extremities, stay dry, and recognize early signs to stay safe in the cold.
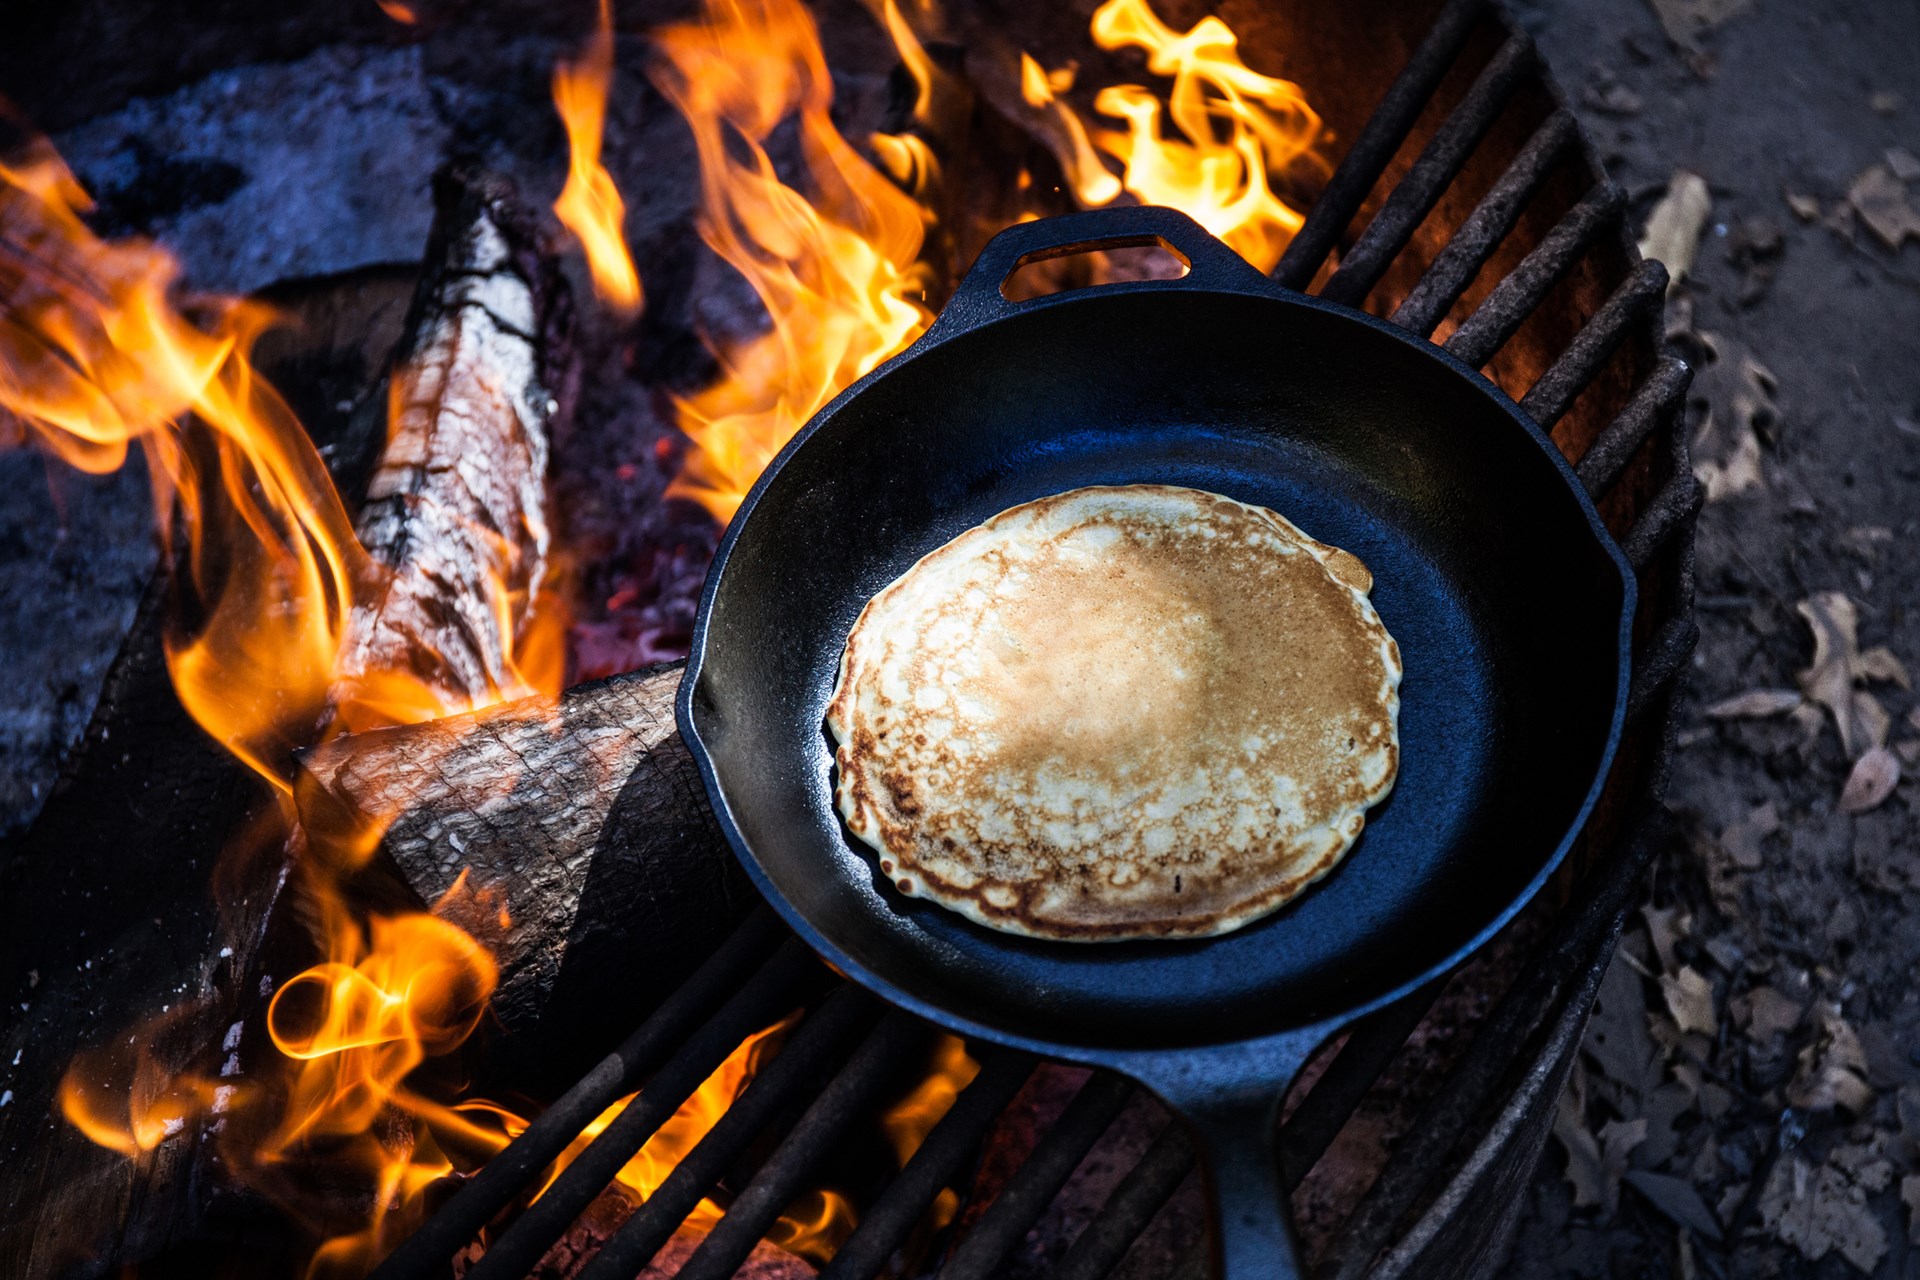
Cooking food over an open fire in April 2025, whether for recreation or in a survival situation, requires careful planning, attention to safety, and an understanding of different cooking methods. By following these steps, you can enjoy delicious meals cooked outdoors while minimizing risks and respecting the environment.
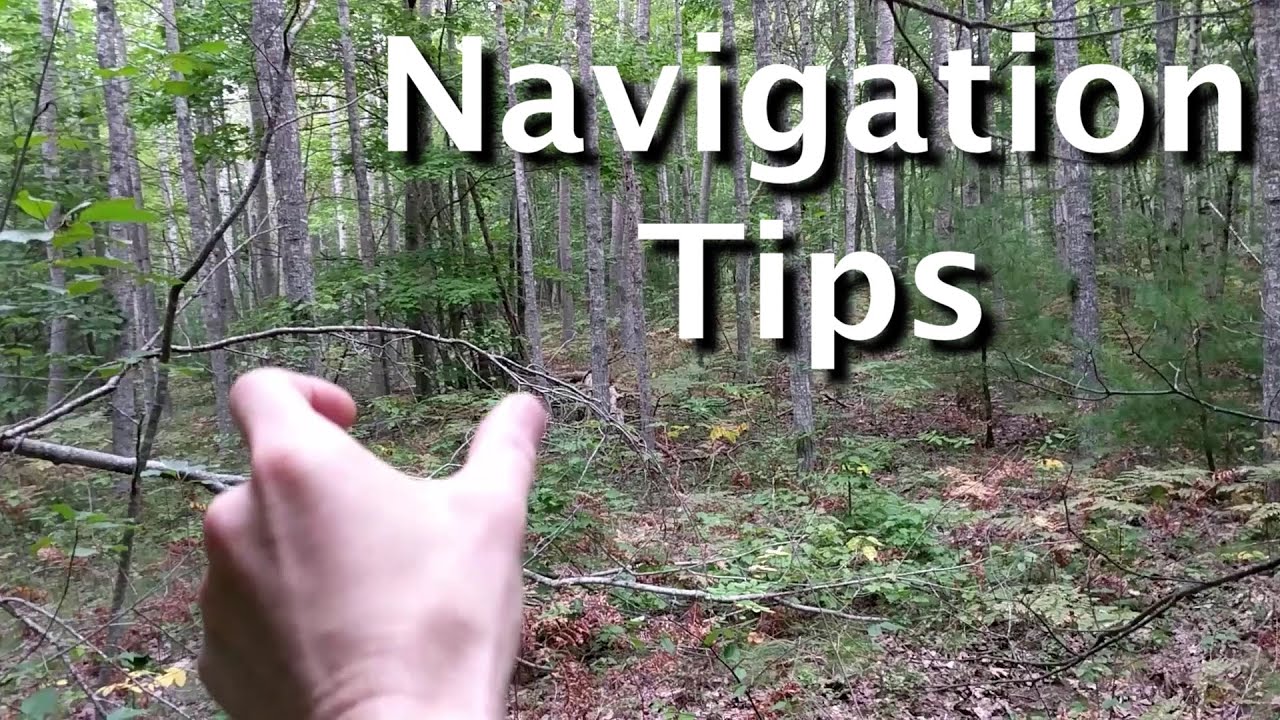
Navigating in the forest without a compass in April 2025 requires a combination of knowledge, observation, and careful decision-making. By understanding these natural techniques and practicing them, you can increase your chances of finding your way if you ever find yourself disoriented in the wilderness.
Identifying edible plants in the wild in April 2025 is a skill that demands respect, caution, and thorough knowledge. This guide provides a starting point, but it is crucial to supplement this information with local field guides and expert guidance. Your safety should always be your top priority.
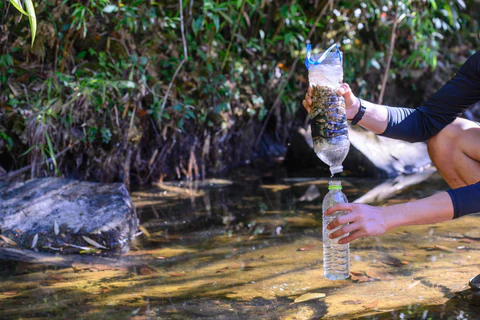
Purifying water for drinking in a survival situation in April 2025 requires knowledge, preparation, and a focus on safety. By understanding and practicing these methods, you can ensure access to clean drinking water, a vital element for survival in the wilderness. Stay safe and stay hydrated!
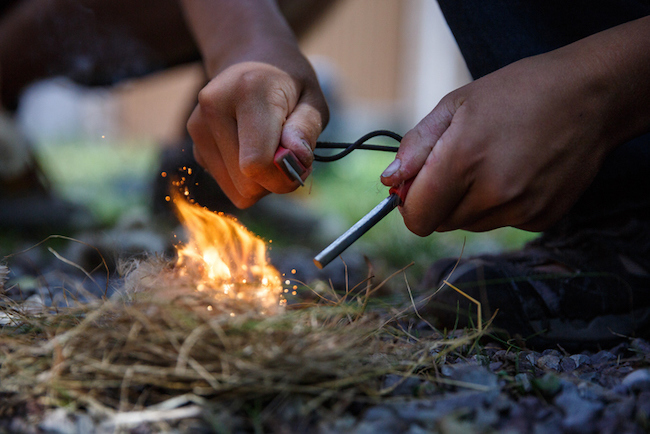
Learn how to start a fire without matches in the wilderness using various methods like ferro rods, magnifying glasses, and friction techniques. Essential survival skills explained step-by-step.