
Creating a knife from natural materials is a practical skill rooted in ancient traditions. Whether you’re interested in bushcraft, survival techniques, or simply exploring traditional craftsmanship, this guide will walk you through the process step by step.
Step 1: Gather Natural Materials
Blade Material:
- Flint, obsidian, chert, or quartzite are ideal for blades due to their ability to fracture into sharp edges.
- These stones can often be found near riverbeds, cliffs, or areas with exposed rock formations.
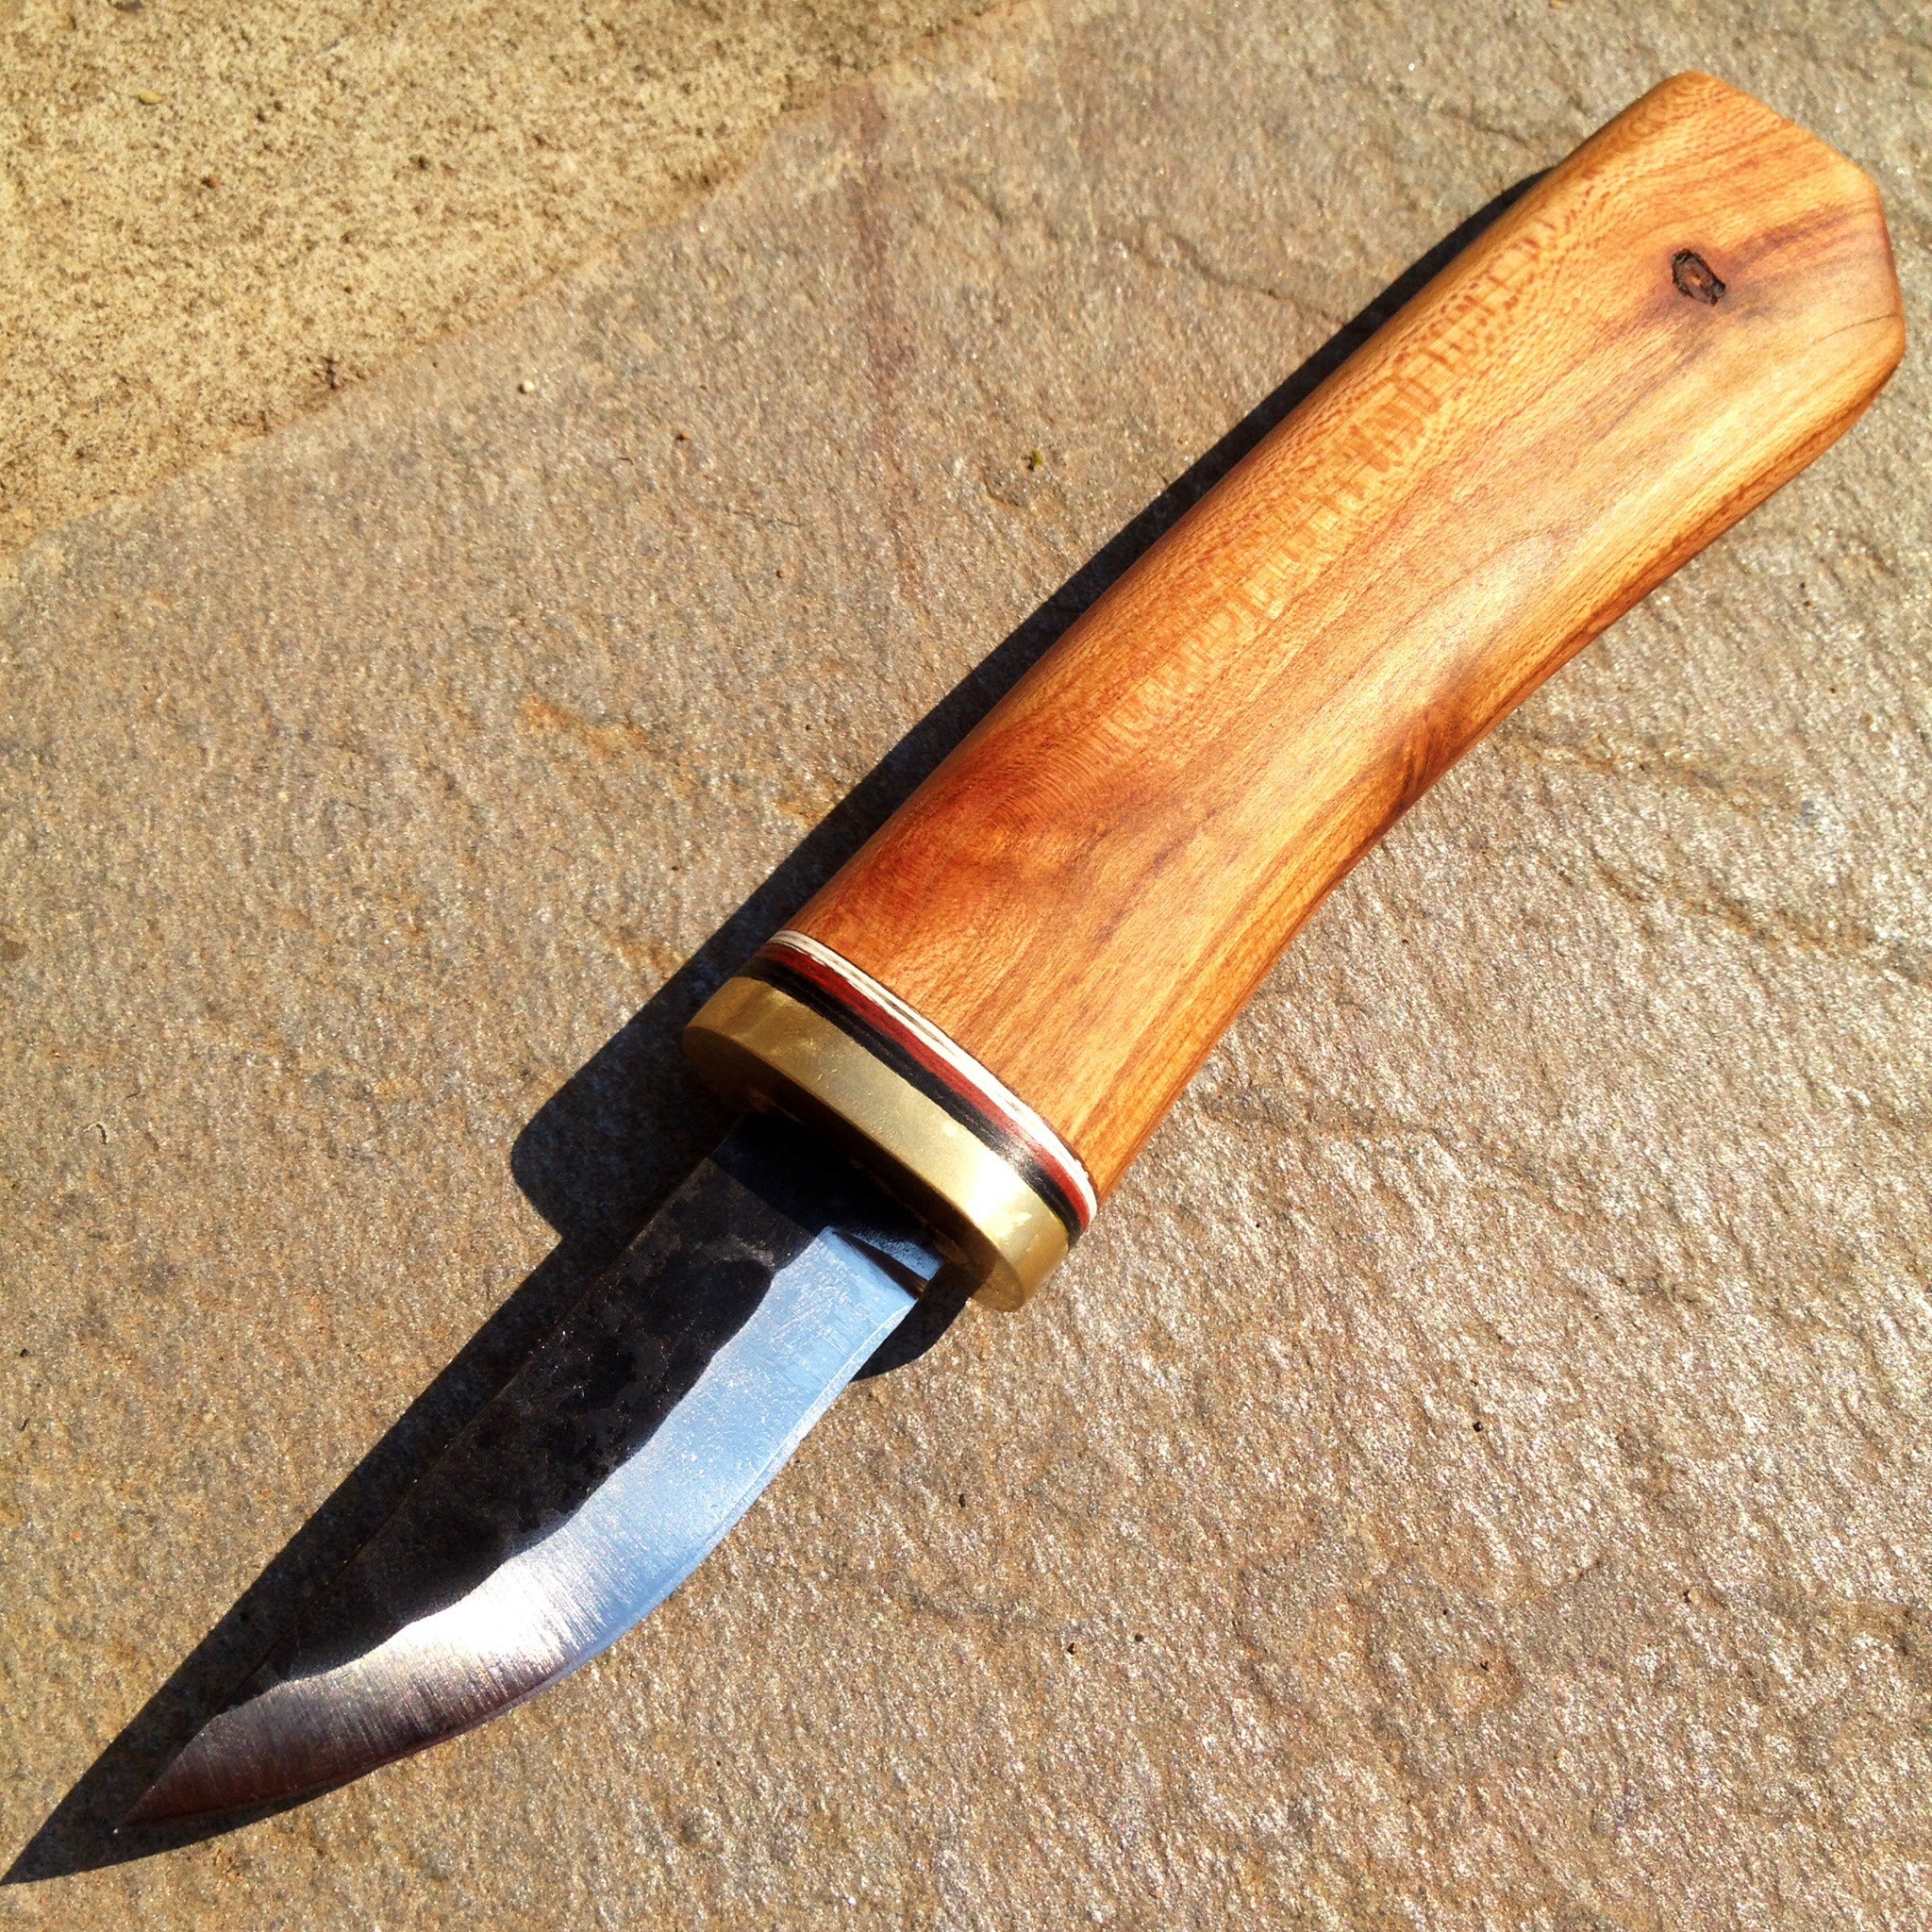
Handle Material:
- Hardwoods like oak, hickory, or maple provide durability.
- Antler or bone can also be used for a traditional aesthetic.
Binding Material:
- Natural fibers such as sinew, rawhide, or plant fibers like yucca or nettle.
- Pine pitch or tree resin can serve as natural adhesives.
Step 2: Shape the Blade
Flintknapping:
- Select a suitable stone: Look for a piece that fits comfortably in your hand.
- Strike the stone: Using a harder rock (hammerstone), strike the edge of your chosen stone to detach flakes.
- Refine the edge: Continue flaking to shape a pointed, sharp edge. This process requires patience and practice.
Safety Tip: Wear protective gloves and eyewear to prevent injuries from sharp flakes.
Step 3: Prepare the Handle
- Cut the handle material: Shape your chosen wood, antler, or bone to fit comfortably in your hand.
- Create a slot: Carve a groove or hole to accommodate the blade’s base.
- Smooth the surface: Sand or scrape the handle to remove rough edges.
Step 4: Attach the Blade to the Handle
- Insert the blade: Place the base of the blade into the prepared slot in the handle.
- Secure with adhesive: Apply pine pitch or tree resin to bond the blade and handle.
- Bind the joint: Wrap the connection point with sinew, rawhide, or plant fibers to reinforce the bond.
- Allow to set: Let the adhesive cure for several hours or overnight.
Step 5: Sharpen the Blade
- Use a coarse stone: Rub the blade’s edge against a rough stone to refine its sharpness.
- Polish with finer stones: Progress to smoother stones to hone the edge further.
- Test the sharpness: Carefully test the blade on soft materials like rope or wood shavings.
Step 6: Maintain Your Knife
- Clean after use: Wipe the blade and handle to remove debris.
- Store properly: Keep the knife in a dry place to prevent deterioration.
- Resharpen as needed: Regularly hone the blade to maintain its effectiveness.