Surviving in the wilderness is an essential skill that many outdoor enthusiasts and adventurers strive to master. One of the most critical components of survival is knowing how to build a shelter in the wild. A well-constructed shelter can protect you from harsh weather, dangerous animals, and other potential hazards while providing a sense of security and comfort.
Why Building a Shelter is Crucial
When stranded in the wilderness, exposure to the elements can quickly become a life-threatening issue. Hypothermia, heatstroke, or dehydration can set in if you lack proper protection. A shelter provides:
- Protection from Weather: It shields you from rain, snow, wind, and intense sun.
- Temperature Regulation: It helps retain body heat in cold conditions or provides shade in hot climates.
- Safety from Wildlife: A shelter acts as a barrier against insects and larger predators.
- Psychological Comfort: Having a secure place to rest can boost morale and reduce stress.
Assessing Your Environment
Before diving into how to build a shelter in the wild, it’s essential to assess your surroundings. The type of shelter you construct depends on several factors:
- Climate and Weather: Are you dealing with rain, snow, or heat?
- Available Resources: Do you have access to branches, leaves, or rocks?
- Terrain: Is the ground flat, sloped, or rocky?
- Time: How quickly do you need the shelter?
Once you’ve evaluated these factors, you can choose the most suitable shelter type.
Types of Shelters
There are several types of shelters you can build depending on your environment and the resources at hand. Here are some common options:
1. Lean-To Shelter
A lean-to is one of the simplest shelters to construct and is ideal if you’re short on time. Here’s how to build it:
- Materials Needed: Long branches, smaller sticks, leaves, or debris.
- Steps:
- Find two sturdy trees close together or place a long branch between two supports.
- Lean other branches against this horizontal branch at an angle to form a sloping roof.
- Cover the slanted side with leaves, grass, or debris for insulation.
- Pros: Quick and easy to build, effective against wind and light rain.
- Cons: Limited protection against heavy rain or snow.
2. Debris Hut
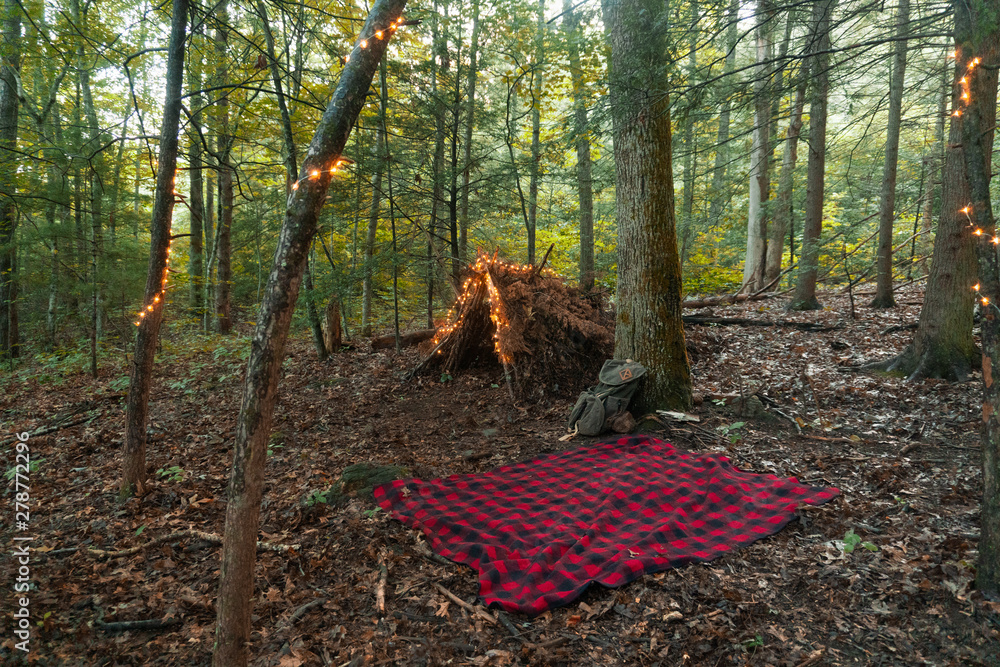
A debris hut is excellent for cold conditions as it provides insulation.
- Materials Needed: Long branches, smaller sticks, and lots of leaves or pine needles.
- Steps:
- Create a ridgepole by propping a long branch against a tree or support.
- Arrange shorter branches along both sides of the ridgepole to form a triangular frame.
- Cover the frame with debris like leaves or grass, ensuring no gaps.
- Add more debris inside for bedding.
- Pros: Excellent insulation, suitable for cold climates.
- Cons: Time-consuming to build.
3. Tarp Shelter
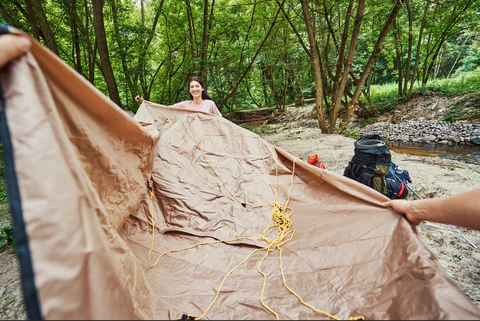
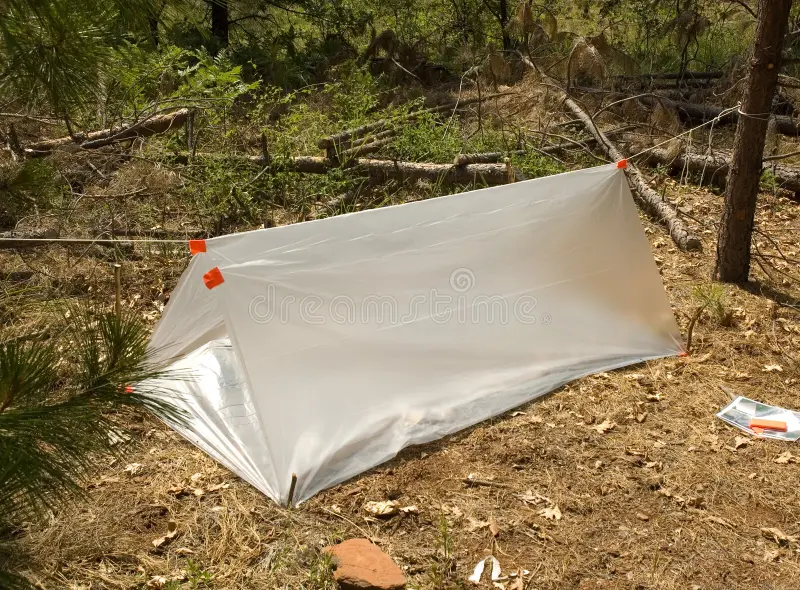
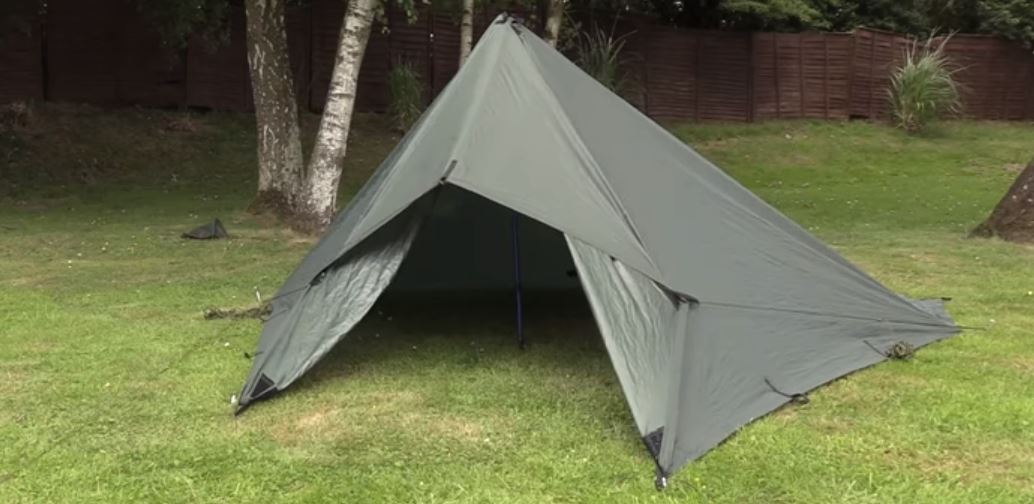
If you’re carrying a tarp or poncho, this type of shelter is quick to set up.
- Materials Needed: Tarp, rope, and stakes or heavy rocks.
- Steps:
- Tie a rope between two trees and drape the tarp over it.
- Secure the edges of the tarp to the ground with stakes or rocks.
- Adjust the height and angle for optimal coverage.
- Pros: Lightweight, portable, and easy to set up.
- Cons: Requires pre-packed equipment.
4. Snow Cave
If you’re in a snowy area, a snow cave offers excellent insulation and protection.
- Materials Needed: Snow and a digging tool (or your hands).
- Steps:
- Find a deep snowdrift and start digging a tunnel into it.
- Hollow out a chamber, ensuring the ceiling is domed to prevent collapse.
- Create a ventilation hole and smooth the interior walls to reduce dripping.
- Pros: Warm and protective in freezing temperatures.
- Cons: Requires significant effort and knowledge to avoid collapse.
Step-by-Step Instructions for Building a Shelter
Regardless of the shelter type, some general principles apply. Here’s a step-by-step guide:
- Choose a Safe Location: Look for an area that is:
- Away from hazards like falling branches or flooding zones.
- Close to resources like water and materials.
- Naturally sheltered, such as near rock outcroppings.
- Gather Materials: Collect everything you need before starting construction. Use natural resources like branches, leaves, and rocks.
- Construct the Frame: Start with a sturdy base. For most shelters, this involves creating a strong ridgepole or frame to support the structure.
- Add Insulation: Use leaves, grass, or debris to insulate your shelter. Thick layers are crucial for maintaining warmth and keeping out moisture.
- Secure the Shelter: Ensure your shelter is stable. Use rope, vines, or additional branches to reinforce it.
- Test Your Shelter: Crawl inside and check for gaps or weak spots. Make adjustments as needed.
Tips for Success
- Work with Nature: Use natural formations like caves, overhangs, or fallen trees to save time and effort.
- Prioritize Insulation: A well-insulated shelter can mean the difference between comfort and hypothermia.
- Keep It Small: A smaller shelter retains heat better and requires fewer resources.
- Stay Dry: Elevate yourself off damp ground using leaves, grass, or a tarp.
Mistakes to Avoid
- Ignoring Location Risks: Avoid building near rivers, animal trails, or under unstable trees.
- Using Wet Materials: Wet branches or leaves can make your shelter colder.
- Skipping Ventilation: Poor airflow can lead to condensation or suffocation, especially in snow caves.
Final Thoughts
Knowing how to build a shelter in the wild is a vital survival skill that can save your life in emergencies. With practice and preparation, you’ll feel confident tackling various environments and conditions. Remember, the key to a successful shelter is choosing the right type for your situation, working efficiently, and using the resources around you wisely.
The next time you’re exploring the great outdoors, take some time to practice building a shelter. Not only is it a fun and rewarding activity, but it also ensures you’re prepared for any unexpected situations that might arise. Whether it’s a simple lean-to or a well-insulated debris hut, mastering this skill can make all the difference in your wilderness adventures.


