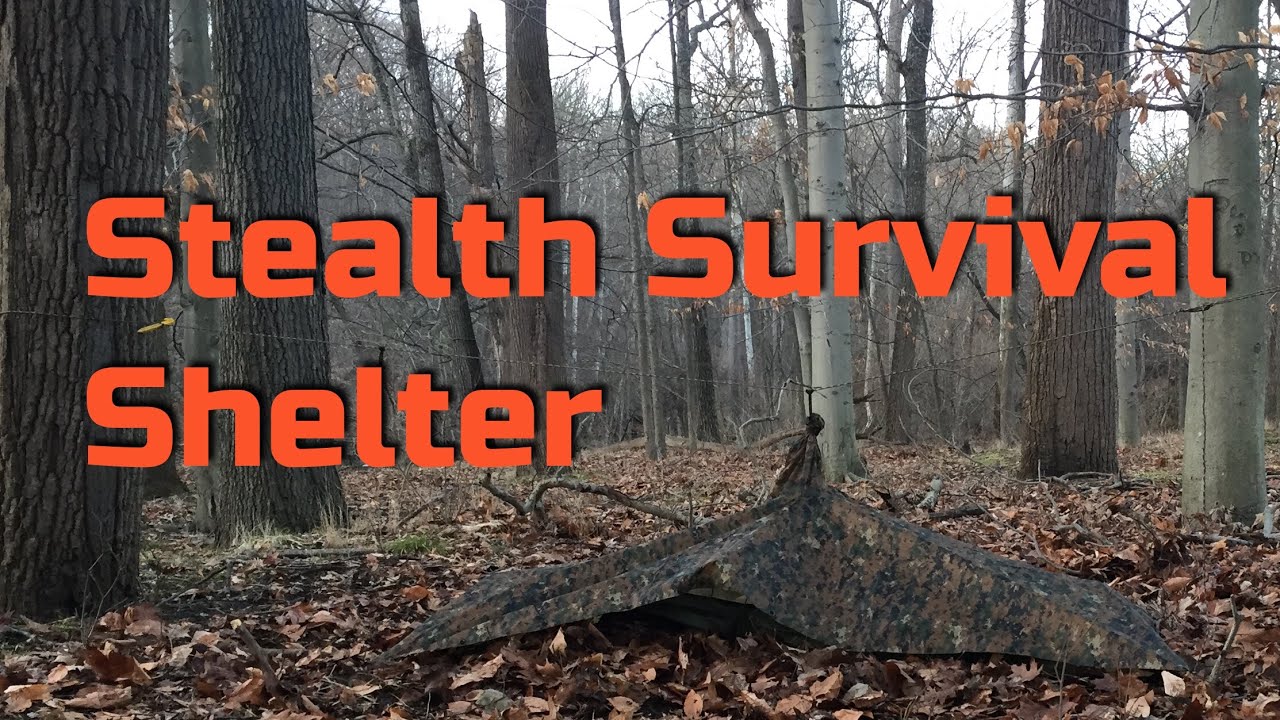
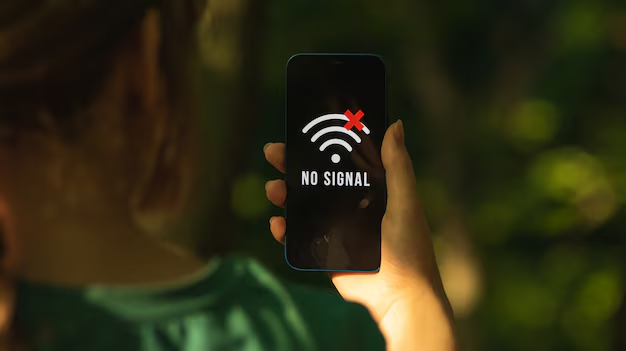
Venturing into the forest can be an exhilarating experience, offering a chance to connect with nature. However, even the most seasoned adventurers can find themselves in unexpected situations where they become lost or injured. In such dire circumstances, especially without a reliable phone signal or a functioning mobile device, knowing how to signal for help becomes a critical survival skill. This guide will walk you through proven methods to attract attention from rescuers, whether by land or air, relying on ingenuity and an understanding of wilderness survival principles.
The universal distress signal recognized globally is three of anything: three shouts, three whistle blasts, three fires, three flashes of light. This simple yet powerful convention originated from maritime distress signals and has been adopted by various search and rescue organizations worldwide. Understanding and utilizing this signal consistently across different methods can significantly increase your chances of being located. Every minute counts when you’re in a survival situation, and effective signaling is your primary tool for communicating your need for assistance.
Initial Steps When Lost
Before you even start signaling, take a few crucial initial steps to improve your chances of survival and rescue.
- S.T.O.P. (Stop, Think, Observe, Plan): This is a fundamental wilderness survival acronym.
- Stop: Don’t panic. Take a deep breath. Rash decisions often lead to worse situations.
- Think: Assess your situation. How did you get here? What resources do you have? Are you injured?
- Observe: Look around. What are the natural landmarks? Where is the sun? Are there any signs of civilization or trails?
- Plan: Based on your observations, formulate a plan. Is it better to stay put and signal, or try to move? In most cases, staying put is advisable, as it concentrates search efforts on one area.
- Stay Put: Unless you are absolutely certain of your direction and proximity to safety, or if staying put poses an immediate threat (e.g., flash flood), staying in one location significantly increases the efficiency of search and rescue teams. You become a stationary target instead of a moving one.
- Find or Create Shelter: Protect yourself from the elements. A simple lean-to, a natural cave, or even dense tree cover can provide warmth, dryness, and safety. Conserving your energy is paramount.
Methods for Signaling for Help
Once you’ve secured your immediate safety, focus on making yourself visible and audible.
- Visual Signals
Visual signals are effective for attracting the attention of aircraft or distant observers. They rely on contrasts in color, light, or shape against the natural environment.
- Signal Fire
A signal fire is one of the most effective and universally recognized distress signals, especially in a forested environment where smoke plumes can rise above the tree canopy.
- Choose a Location:
- Find an open area, such as a clearing, hilltop, or riverbank, where smoke can easily rise without being immediately obstructed by dense foliage.
- Ensure the location is safe from igniting a wildfire. Clear a large area around your fire pit down to bare mineral earth (at least 10 feet in all directions) of any flammable materials like dry leaves, grass, or pine needles.
- Consider wind direction – you want the smoke to be carried upwards, not dispersed horizontally at ground level.
- Build the Fire Base:
- Start a regular campfire using the “teepee” or “log cabin” method for a good base of flames. You’ll need tinder (fine, easily ignitable material like dry leaves, bark shavings, cotton lint), kindling (small twigs), and fuel wood (larger branches).
- Entity Definition: A wildfire is an unplanned, uncontrolled fire that burns in wildland areas, often ignited by natural causes like lightning or human activities. They can spread rapidly and cause extensive damage.
- Generate Smoke (Daytime Signal):
- Once your fire is burning strongly, add green, leafy branches, damp moss, or water-saturated materials to produce large amounts of thick, white smoke. The moisture in these materials creates dense smoke that stands out against the sky.
- For black smoke (which can be more visible against a light sky or snow), add rubber, oil, or plastic, but be cautious about hazardous fumes and the materials you have available.
- Create three columns of smoke in quick succession. This is the universal distress signal. Build a roaring fire, then smother it repeatedly with green material in three bursts, waiting a few moments between each burst to let the smoke clear slightly before the next.
- Generate Light (Nighttime Signal):
- At night, a roaring, visible fire is effective. Keep adding dry fuel to ensure bright, tall flames.
- You can also try making three bright flashes with a flashlight or by rapidly waving a burning stick if you don’t have enough fuel for sustained bursts.
- Signal Mirror or Reflective Surface
A signal mirror can be a powerful tool for attracting attention during daylight hours by reflecting sunlight towards aircraft, vehicles, or distant observers.
- Find a Mirror: A dedicated signal mirror is best, but a shiny piece of metal (like a soda can bottom), a CD, a broken piece of glass, or even a smartphone screen (if not fully broken and reflective) can work.
- Aiming Technique (True Signal Mirror with Aiming Hole):
- Hold the mirror in one hand, pointing it towards a distant light-colored surface (like a tree or cloud).
- Extend your other arm forward, palm facing the mirror, with your thumb or fingers forming a V-shape.
- Look through the aiming hole in the mirror. You should see a bright spot of light on your extended hand or fingers.
- Move the mirror slightly until that bright spot appears directly on your target (e.g., an aircraft). This means the beam of light is hitting your target.
- Flash the signal three times in quick succession, pause, and repeat.
- Aiming Technique (Without Aiming Hole):
- Hold the reflective surface in one hand, angling it to catch sunlight.
- Form a “V” with your fingers on your other hand and hold it outstretched towards your target.
- Try to direct the reflection so that the light passes through the “V” and reaches your target. This requires practice.
- Sweep the Horizon: Even if you don’t see a target, continuously sweep the horizon with flashes. The beam of light can be seen from miles away, even if the observer isn’t directly looking at you.
- Ground-to-Air Signals (SOS / HELP)
Large-scale ground markers are designed to be seen from the air.
- Choose a Prominent Location: An open clearing, a large rock face, a sandy riverbed, or a snowy field are ideal.
- Create Large Symbols: Use natural materials that contrast sharply with the ground.
- Stones/Rocks: Arrange dark stones on light ground, or light-colored stones on dark ground.
- Branches/Logs: Use freshly cut green branches laid against a snowy or sandy background, or peeled logs against darker soil.
- Clothes/Tarps: Lay out brightly colored clothing, a sleeping bag, or a tent fly.
- Trenches: Dig trenches in snow or soft earth.
- Form the Letters: Create the letters “SOS” or “HELP”.
- “SOS” is universally recognized and easy to form. Each letter should be at least 10-15 feet tall (3-5 meters), with significant spacing between letters to make them distinct from the air.
- Alternatively, create a large “X” as a general distress signal.
- Maintain Visibility: Ensure snow doesn’t cover them, leaves don’t obscure them, or animals don’t disturb them.
- Audible Signals
Audible signals are crucial for attracting attention from ground searchers or people within earshot. Sound travels differently in dense forest environments, but repetition and the universal distress signal are key.
- Whistle Blasts
A whistle is an indispensable survival tool, as it requires less energy than shouting and carries farther.
- Universal Distress Signal: Blow three short blasts, pause for a minute, and then repeat. This “three-blast” signal is recognizable internationally.
- Frequency: Blow the whistle every few minutes, especially if you hear sounds that might indicate human presence (e.g., distant voices, vehicles, dogs barking).
- Direction: Try to listen for a response. If you hear one, try to gauge its direction and angle your blasts accordingly.
- Shouting / Yelling
If you don’t have a whistle, your voice is your next best option.
- Yell “HELP!” or “HEY!”: Use a strong, clear voice.
- Three Shouts: Shout in sets of three, with pauses between each set.
- Conserve Energy: Shouting can quickly deplete your energy and dehydrate you. Use it strategically, perhaps when you hear distant sounds or feel a surge of energy. Avoid constant screaming.
- Percussion (Banging)
Making loud, rhythmic noises can carry surprisingly far in a quiet forest.
- Find a Resonating Object: Use a hollow log, a large tree buttress, or even an empty metal container if you have one.
- Strike Repeatedly: Hit the object with a stick or rock in sets of three distinct beats, pause, and repeat. The deeper the sound, the further it might travel.
Maintaining Hope and Preparedness
Being prepared is the best defense against getting lost.
- Tell Someone Your Plans: Always inform someone reliable of your itinerary, including your route, destination, expected return time, and the number of people in your party.
- Carry Essential Gear: Even for a short hike, carry a basic survival kit. This should include a whistle, a signal mirror, a knife, a fire starter (waterproof matches, lighter, ferro rod), a headlamp or flashlight with extra batteries, a first-aid kit, a map, a compass (and know how to use them), water, and extra layers of clothing.
- Entity Definition: A survival kit is a collection of essential tools and supplies assembled to aid in survival in an emergency situation. Its contents vary depending on the expected environment and duration of the emergency.
- Learn Basic Navigation: Even a basic understanding of using a map and compass can prevent you from getting lost in the first place.
- Stay Hydrated and Fed: Conserve your energy. Ration any food you have and prioritize finding safe drinking water.
Getting lost in the forest can be a terrifying experience, but knowing how to signal for help can make all the difference. By understanding the universal distress signal and applying these practical, cry-free methods of visual and audible communication, you significantly increase your chances of a successful rescue. Remember, preparedness is key, and the ability to think clearly and act decisively in a crisis is your most valuable asset.
Frequently Asked Questions (FAQ)
Q1: What is the universal distress signal?
A1: The universal distress signal recognized globally is three of anything – three shouts, three whistle blasts, three flashes of light, three fires, or three ground markings. This signal is designed to be easily recognizable and stands out from accidental sounds or visuals.
Q2: Is it better to stay put or try to find my way out if I’m lost in the forest?
A2: In most scenarios, it is significantly better to stay put. When you stay in one place, search and rescue teams can focus their efforts on a specific area, making their operation more efficient. Moving around makes you a moving target and can lead you further astray or into more dangerous terrain. Only move if you are absolutely certain of your direction to safety or if your current location is genuinely unsafe.
Q3: How large should a ground-to-air signal be to be seen by an aircraft?
A3: For ground-to-air signals like “SOS” or an “X,” each letter or symbol should be at least 10-15 feet (3-5 meters) tall to be clearly visible from an aircraft. Ensure there is significant spacing between the letters to prevent them from blurring together.
Q4: What materials are best for creating smoke signals during the day?
A4: To create thick, white smoke during the day, add green, leafy branches, damp moss, or water-saturated organic materials to a well-established fire. The moisture in these materials creates dense, visible smoke. For black smoke, materials like rubber or oil could be used, but use caution with fumes.
Q5: How far can a whistle signal be heard in the forest?
A5: The range of a whistle signal varies greatly depending on the terrain, wind, and ambient noise. In dense forest, sound can be absorbed, but a strong whistle blast can still carry for hundreds of meters, and often much further in open clearings or across valleys. It’s much more effective and energy-efficient than shouting over long periods.
Q6: What basic items should I always carry to help signal for help?
A6: A basic survival kit should always include items to help you signal. Key items are a whistle, a signal mirror (or a reflective object like a polished metal surface), and fire-starting materials (waterproof matches, lighter, or a ferro rod). These three items cover essential audible and visual signaling.